How to Install Insulated Siding
How to install insulated siding? It’s a project that promises both beauty and energy efficiency for your home. This guide walks you through every step, from understanding the different siding types and preparing your walls to the actual installation process and troubleshooting common problems. We’ll explore various siding profiles, safety precautions, and essential tools, ensuring you’re well-equipped to tackle this rewarding home improvement task.
Transforming your home’s exterior with insulated siding is a significant undertaking, but the results—a beautiful, energy-efficient, and weather-resistant exterior—are well worth the effort. This guide will empower you with the knowledge and confidence to complete this project successfully, saving you money and adding lasting value to your home.
Understanding Insulated Siding Types
Choosing the right insulated siding is a crucial step in improving your home’s energy efficiency and curb appeal. Different materials offer varying levels of insulation, durability, and aesthetic options. Understanding these differences will help you make an informed decision that best suits your needs and budget.
Insulated Siding Material Types
Several materials are commonly used for insulated siding, each with its own set of advantages and disadvantages. The most popular choices include vinyl, fiber cement, and foam.
Vinyl Insulated Siding
Vinyl siding is a popular choice due to its affordability and low maintenance. It’s lightweight and easy to install, making it a cost-effective option for many homeowners. However, vinyl’s insulation properties are generally less effective than other options, and it can be susceptible to damage from extreme temperatures or impacts. It also tends to fade over time.
Fiber Cement Insulated Siding
Fiber cement siding offers superior durability and fire resistance compared to vinyl. It’s more resistant to damage from impacts and extreme weather conditions, and it doesn’t fade as easily. However, fiber cement is heavier and more expensive than vinyl, requiring more specialized installation techniques. Its insulation value is moderate.
Foam Insulated Siding
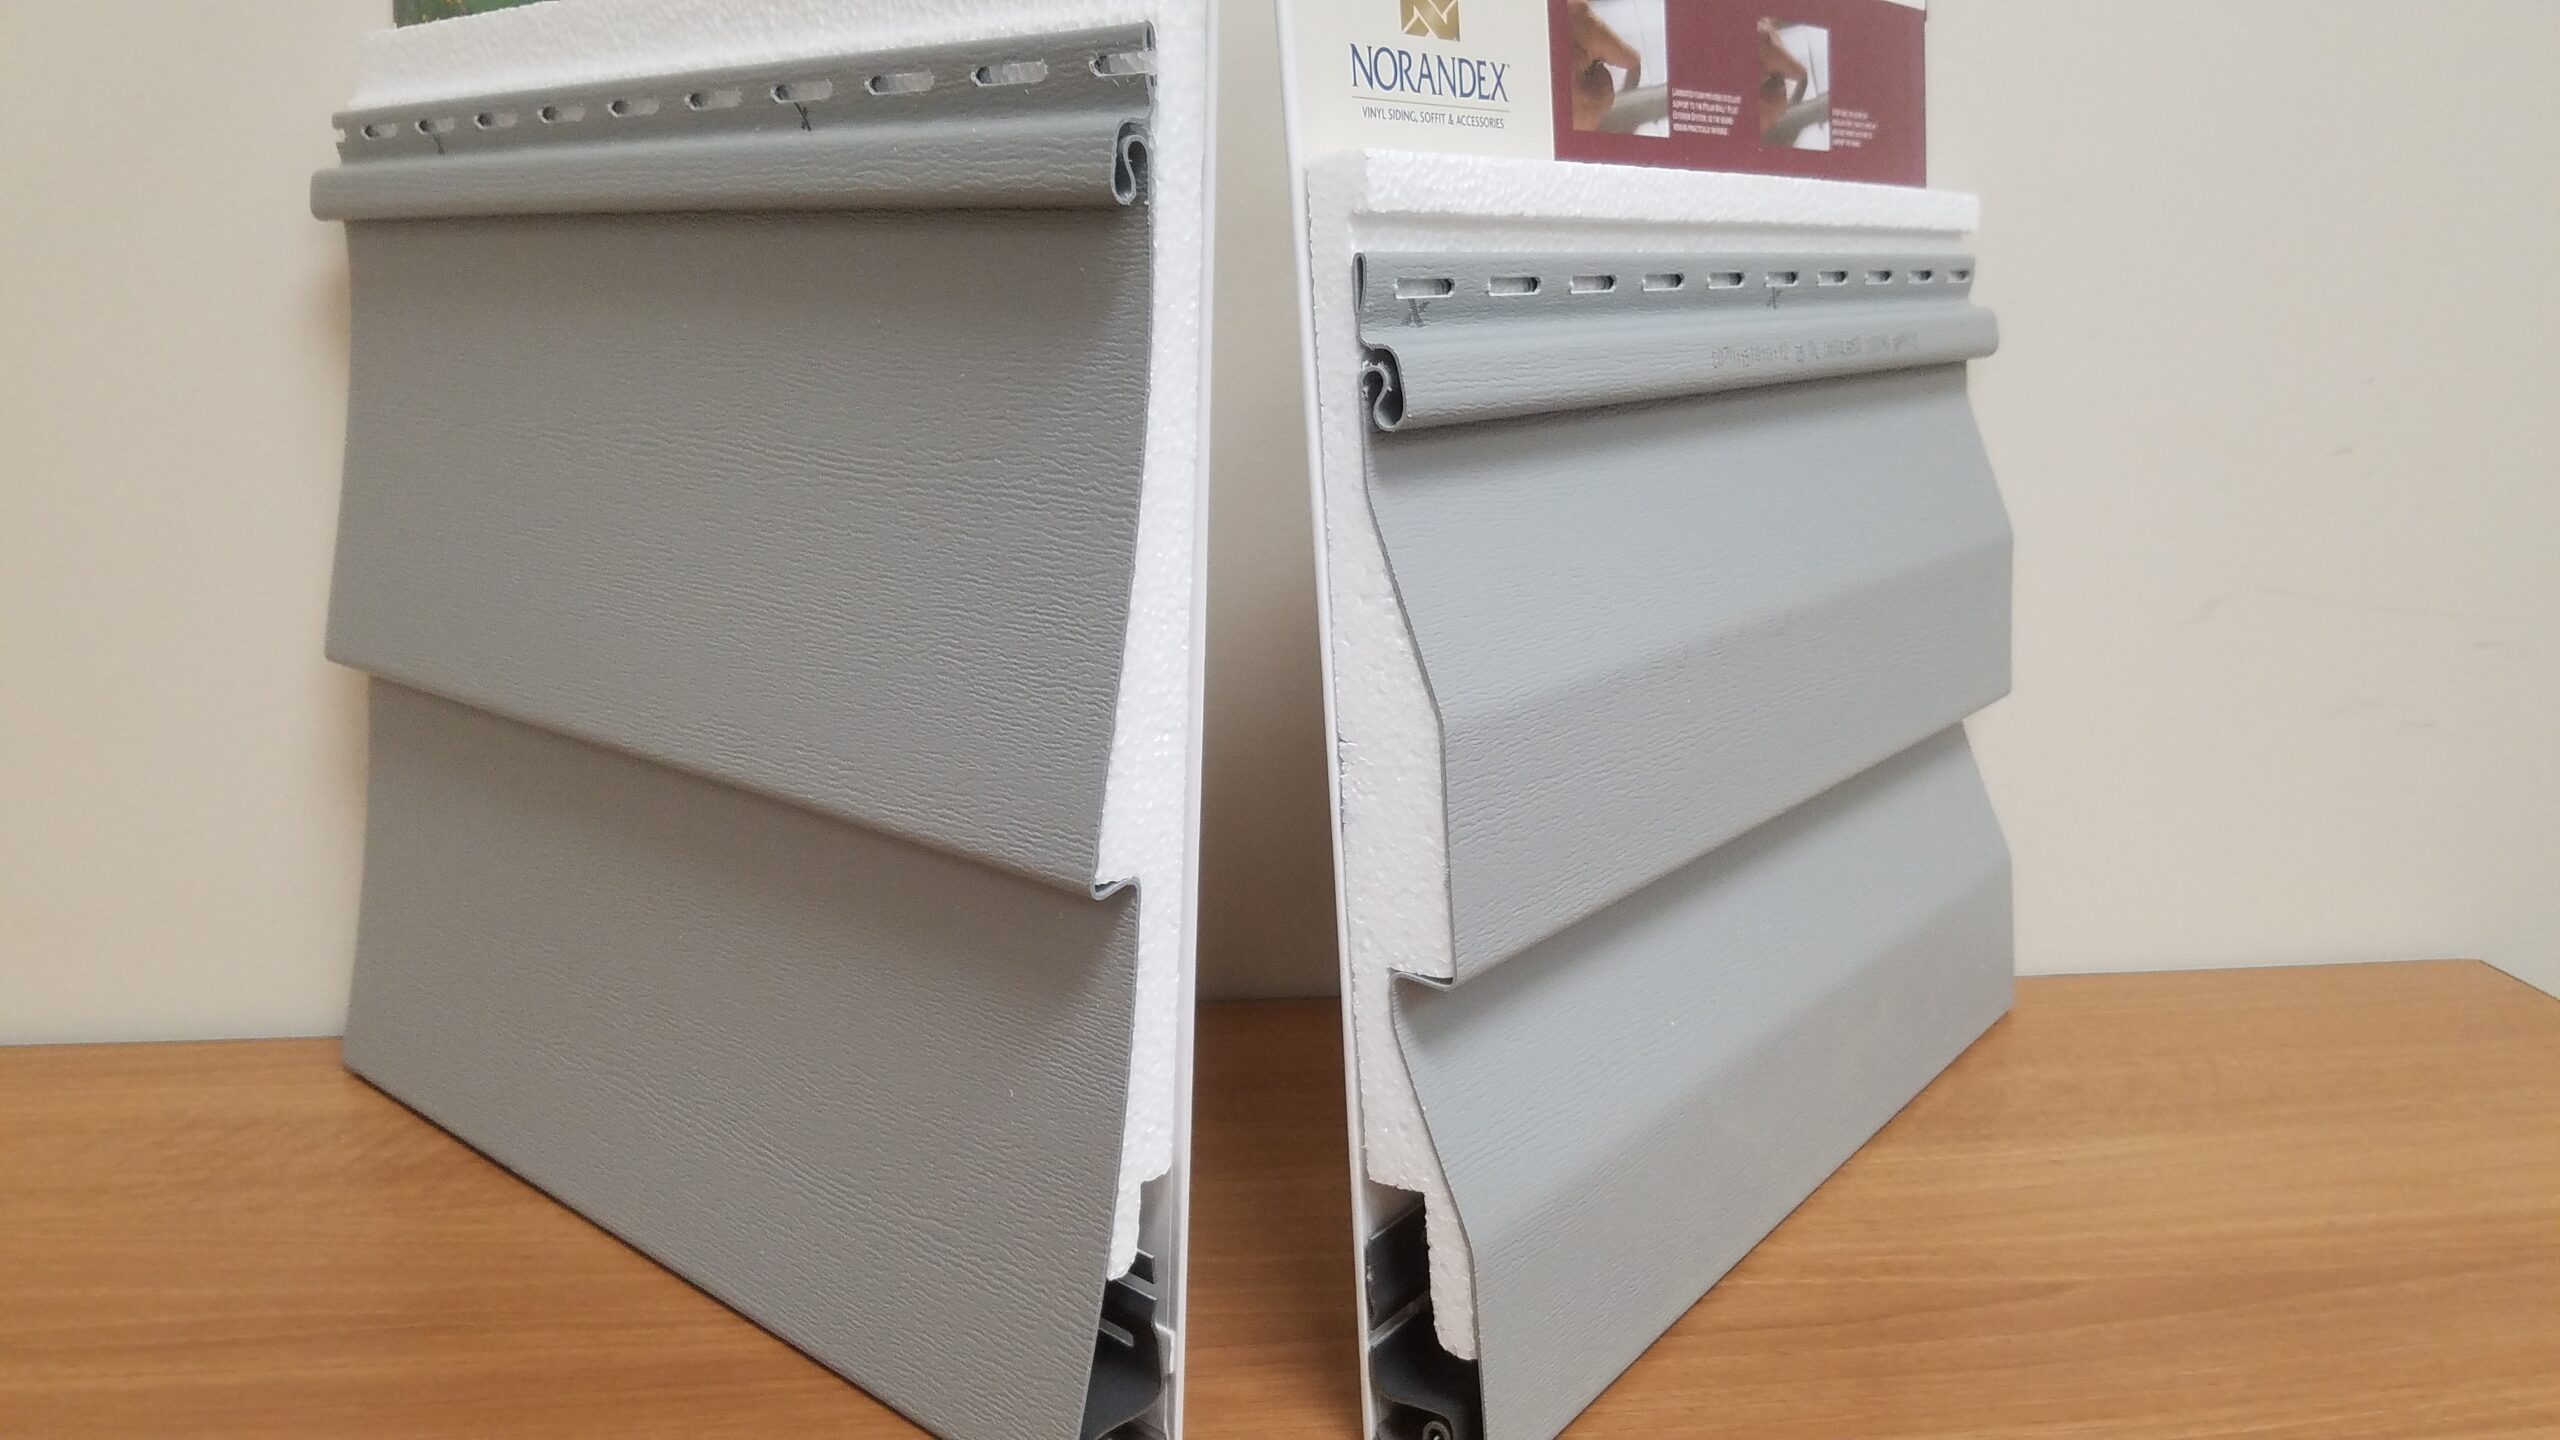
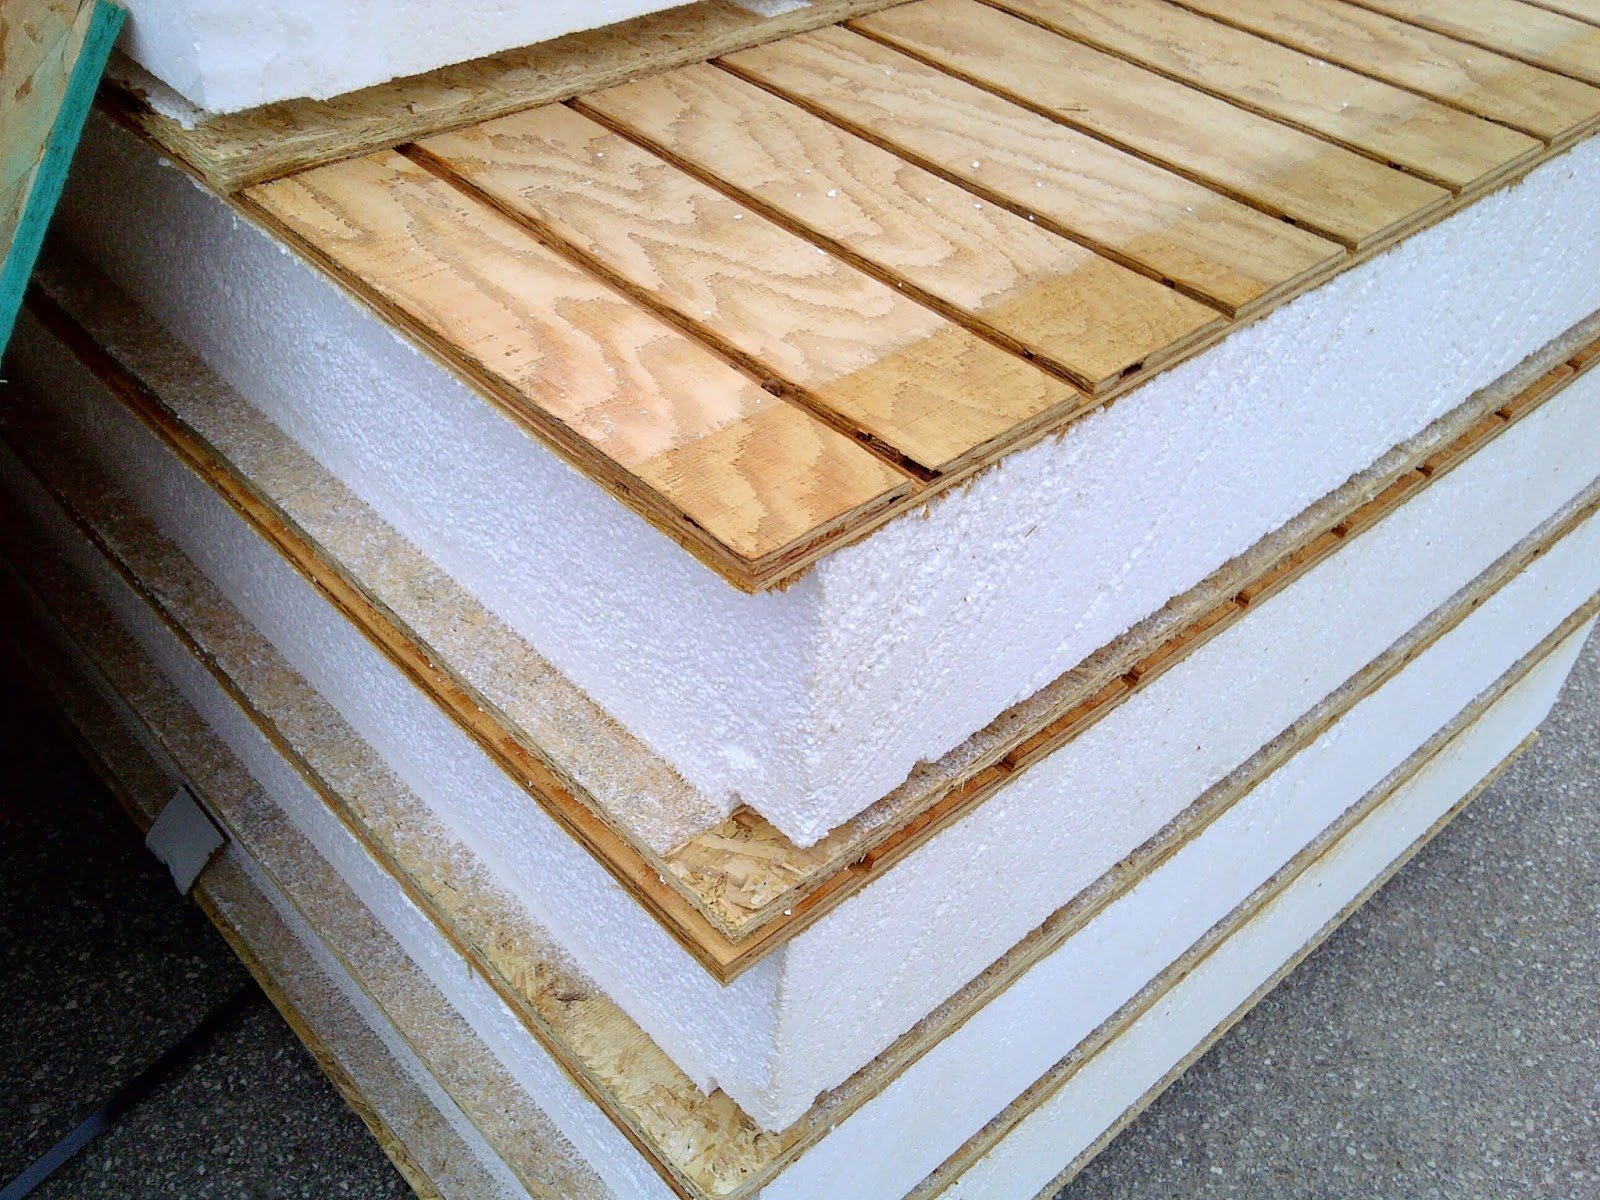
Foam insulated siding, often made from polyurethane or polyisocyanurate, provides excellent thermal insulation. This significantly reduces energy costs by minimizing heat transfer. It’s lightweight and relatively easy to install, although it’s generally more expensive than vinyl. Foam siding is less durable than fiber cement and can be susceptible to damage from UV exposure if not properly protected with a facing material.
Comparative Table of Insulated Siding Types
| Feature | Vinyl | Fiber Cement | Foam |
|---|---|---|---|
| Insulation Value (R-value) | Low (R-2 to R-4) | Moderate (R-5 to R-8) | High (R-6 to R-10 or higher depending on thickness) |
| Cost | Low | Medium to High | Medium to High |
| Maintenance | Low | Low to Medium | Low to Medium |
| Durability | Moderate | High | Moderate (dependent on facing material) |
| Fire Resistance | Low | High | Low to Moderate (dependent on type of foam and facing material) |
Preparation Before Installation
Preparing your exterior walls is crucial for a long-lasting and beautiful insulated siding installation. A well-prepared surface ensures a secure bond, prevents future problems, and maximizes the siding’s insulating properties. Think of it as laying a strong foundation for a beautiful house – the better the prep work, the better the final result.
Proper preparation involves several key steps, each vital to the overall success of your project. Neglecting even one step can lead to complications down the road. Let’s explore these steps in detail.
Exterior Wall Assessment and Cleaning
Before you even think about installing siding, a thorough inspection of your exterior walls is paramount. Look for any damaged areas, such as rotting wood, loose mortar, or crumbling stucco. Repair any significant damage using appropriate materials like wood filler, patching compound, or mortar. After repairs are complete and fully cured, thoroughly clean the walls to remove dirt, debris, loose paint, and any other contaminants. A pressure washer can be helpful for this task, but be cautious not to damage the underlying surface. A stiff brush and soapy water may suffice for less severe dirt accumulation. The goal is to create a clean, even surface ready for the siding.
Necessary Tools and Materials
Gathering the right tools and materials beforehand ensures a smooth and efficient preparation process. You’ll need a variety of items, including safety equipment. This includes safety glasses, work gloves, and possibly a respirator if working with certain cleaning solutions. In addition, you’ll need tools such as a putty knife, hammer, wire brush, scraper, pressure washer (optional), cleaning solutions, and repair materials like wood filler or patching compound, depending on the condition of your walls. Having these readily available will prevent frustrating delays during the preparation phase.
Moisture Control and Weatherproofing
Moisture is the enemy of any exterior wall. Before installing siding, you must ensure proper moisture control and weatherproofing to prevent water damage and mold growth. This might involve repairing any cracks or gaps in the existing wall covering, caulking around windows and doors, and installing flashing where necessary to redirect water away from the building. Proper ventilation is also essential to allow moisture to escape. Consider installing or checking the condition of existing vents to ensure adequate airflow. Remember, preventing moisture intrusion is key to a long-lasting siding installation. A well-ventilated and properly sealed wall will protect your home and your investment for years to come.
Installation Process
Installing insulated siding is a rewarding project that can significantly improve your home’s energy efficiency and curb appeal. This process requires careful planning and attention to detail, but with the right approach, you can achieve professional-looking results. Remember to always consult the manufacturer’s instructions for your specific siding product, as installation methods may vary slightly.
Preparing the Wall
Before installing any siding, ensure your house’s exterior walls are properly prepared. This involves removing old siding, repairing any damaged areas, and ensuring a clean, smooth surface. Any unevenness or damage left unaddressed will show through the new siding. For instance, filling cracks with caulk and patching holes with exterior-grade patching compound is essential for a smooth, long-lasting finish. This stage sets the foundation for a successful installation.
Installing the First Course of Siding
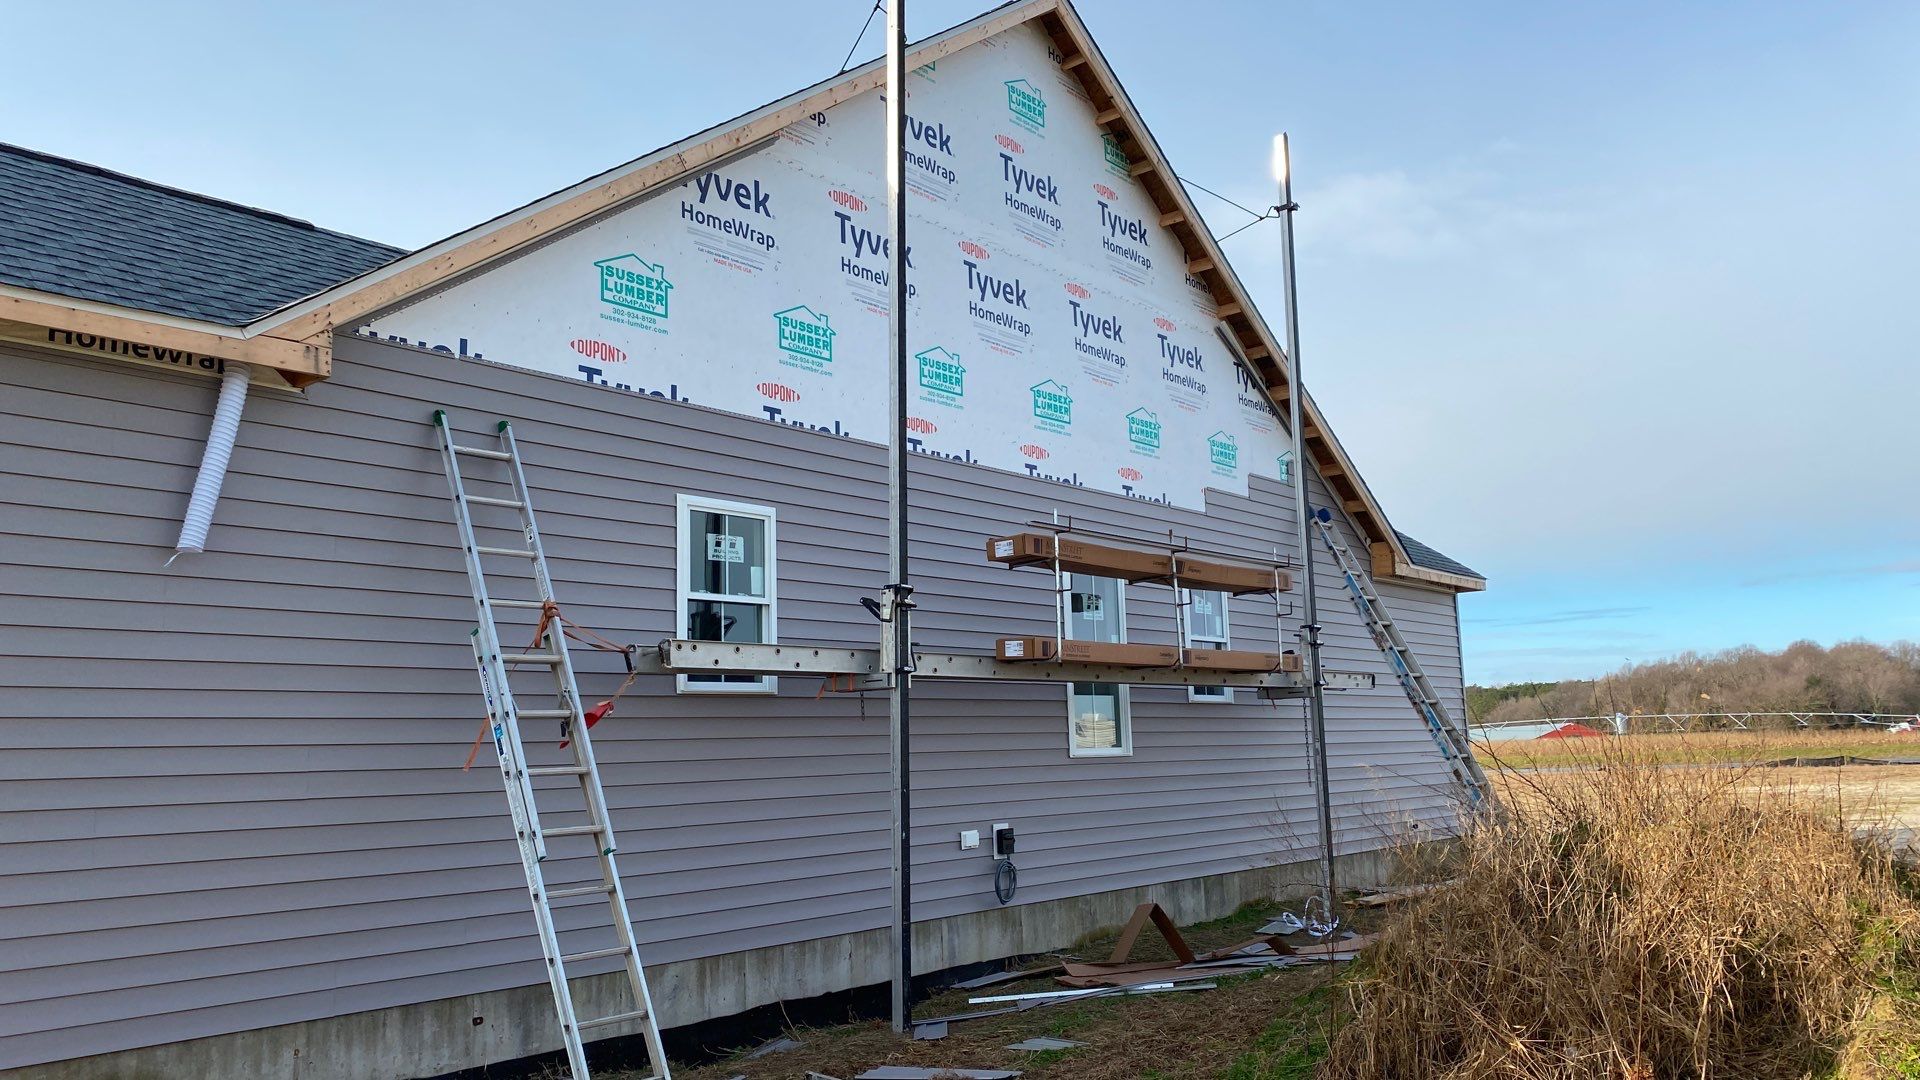
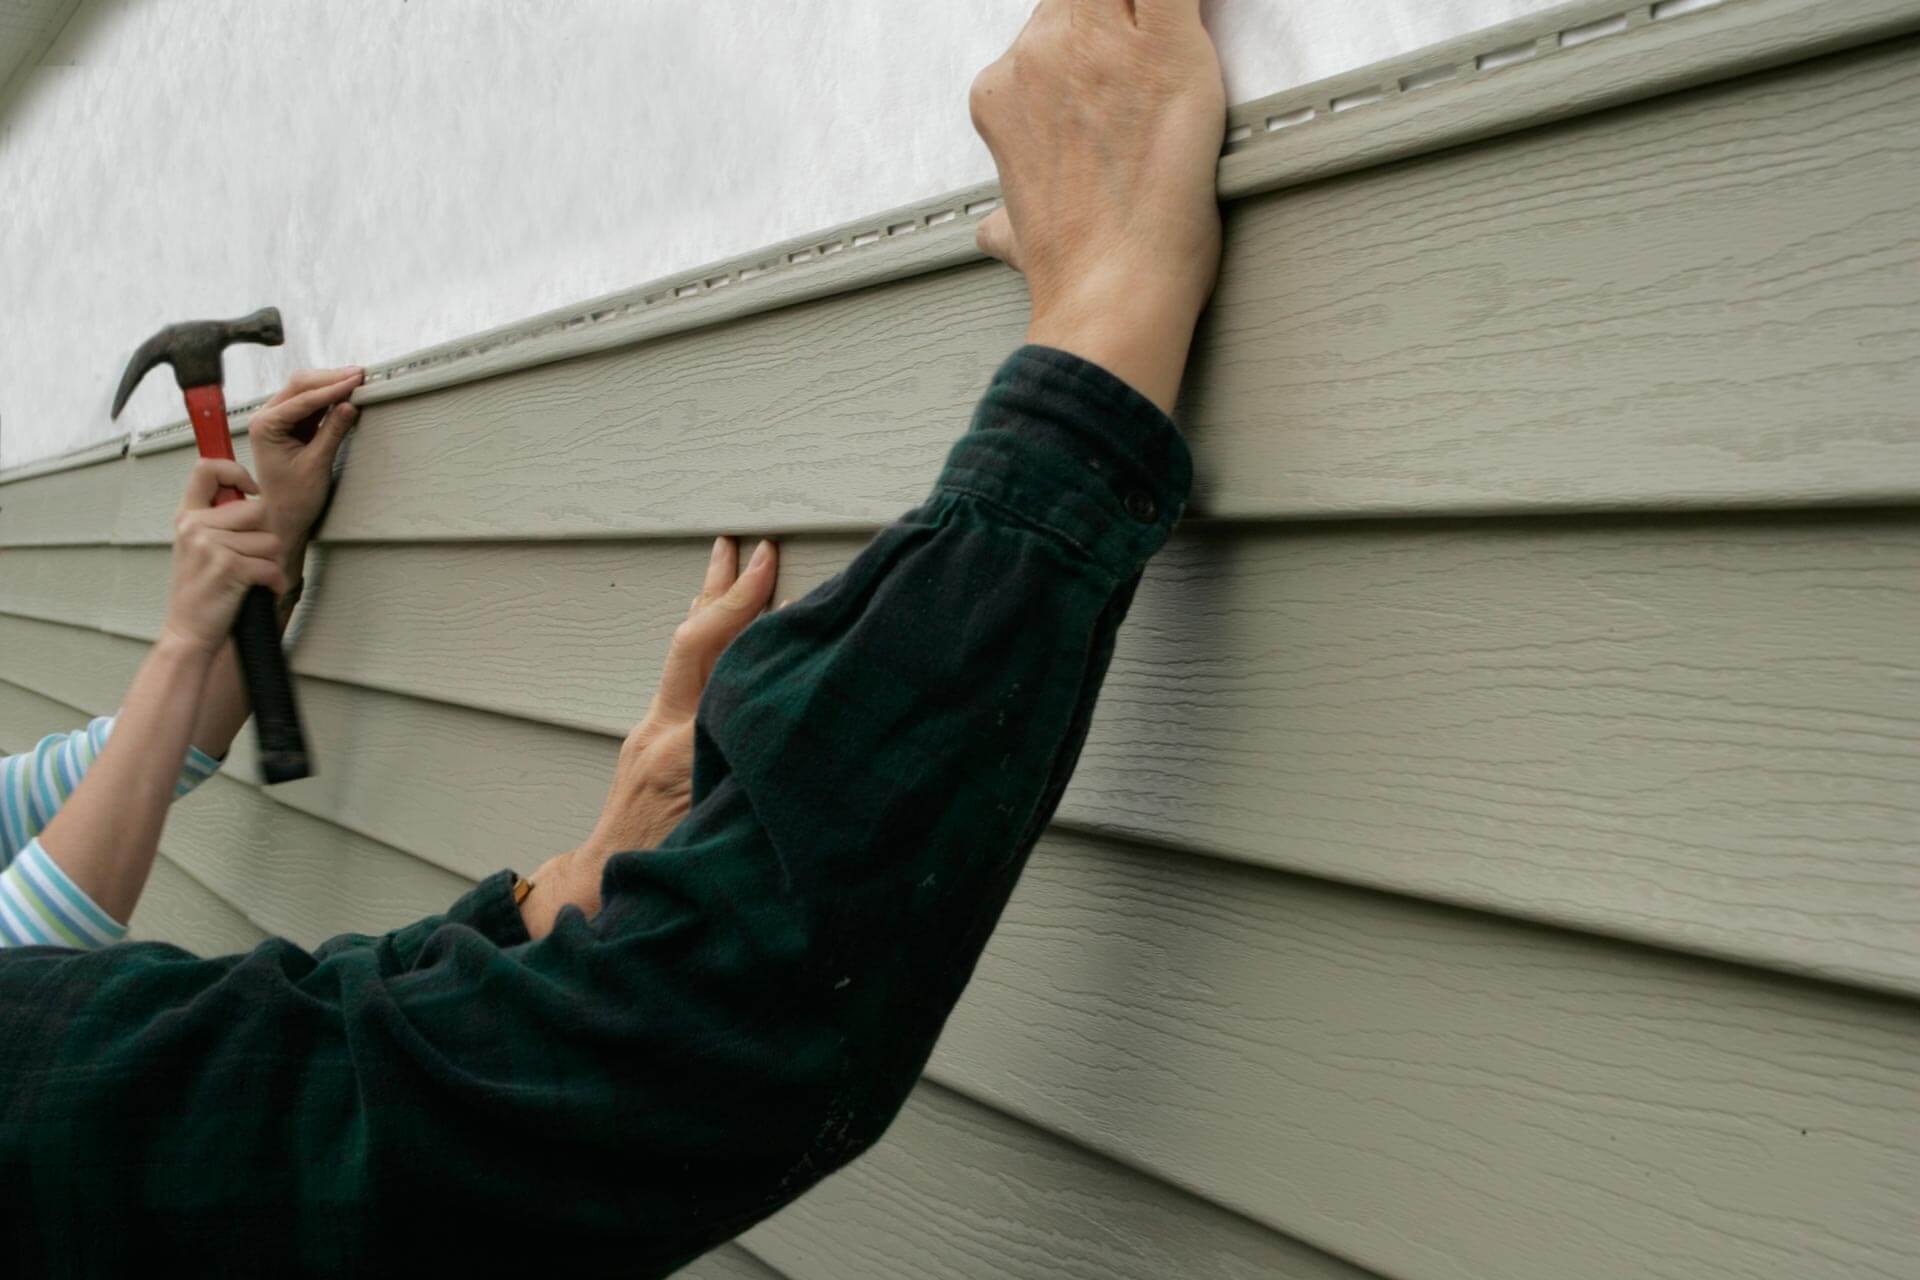
Begin by installing the first course of siding at the bottom of the wall, ensuring it is level and aligned. This usually involves using starter strips or channels that provide a straight, even base. Imagine the starter strip as a perfectly straight horizontal line at the bottom of the wall. The first course of siding will then butt up neatly against this line, creating a foundation for the rest of the installation. Use appropriate fasteners to securely attach the siding to the wall framing, following the manufacturer’s recommended spacing.
Installing Subsequent Courses
Subsequent courses of siding are installed by overlapping the previous course. Each piece should interlock securely with the one below it, creating a weather-tight seal. Visualize the siding pieces like puzzle pieces, fitting snugly together. The overlap creates a strong, continuous barrier against the elements. Maintaining consistent spacing and alignment throughout the installation is key to achieving a professional finish. Use a level frequently to check for any deviations.
Cutting and Fitting Around Windows and Doors
Cutting and fitting insulated siding around windows and doors requires precision and careful measurement. Measure carefully and mark the siding before cutting. Use a sharp utility knife or a specialized siding cutter for clean, precise cuts. Imagine the window or door frame as a puzzle piece that needs to be accurately accommodated by the siding. You will likely need to cut and trim pieces of siding to create a tight, aesthetically pleasing fit around the openings. Caulk all seams and gaps to prevent water infiltration.
Finishing Touches
Once all the siding is installed, inspect your work for any gaps or inconsistencies. Caulk any gaps or seams, ensuring a waterproof seal. Install any necessary trim pieces around windows, doors, and corners. Think of the trim as the finishing touch on a perfectly framed picture; it completes the overall look and protects the edges of the siding. Finally, step back and admire your newly insulated and aesthetically pleasing exterior!
Working with Different Siding Profiles
Insulated siding comes in a variety of profiles, each offering a unique aesthetic and sometimes impacting installation methods. Choosing the right profile depends on your home’s architectural style and your personal preferences. Understanding the nuances of each profile will ensure a smooth and successful installation.
Common insulated siding profiles include lap siding, vertical siding, and shake siding. Lap siding, mimicking traditional wood clapboard, is the most popular choice due to its classic look and relatively straightforward installation. Vertical siding offers a more modern and sleek appearance, while shake siding provides a rustic, textured finish reminiscent of natural wood shakes. While all three offer the benefits of insulation, their installation processes differ slightly.
Lap Siding Installation
Lap siding, characterized by its overlapping horizontal planks, is generally considered the easiest profile to install. The overlapping design helps to shed water and provides a robust weather barrier.
The installation typically begins at the bottom of the wall and progresses upwards, each plank overlapping the one below. Careful attention must be paid to maintaining consistent overlaps and ensuring proper alignment. Starter strips are crucial for establishing a straight and level base for the first row of siding. Proper fastening is essential to prevent sagging or damage.
- Begin installation at the bottom of the wall using a starter strip to establish a level base.
- Each plank overlaps the previous one, typically with a specified overlap distance indicated by the manufacturer.
- Use appropriate fasteners, ensuring they are driven straight to avoid damaging the siding.
- Maintain consistent spacing and alignment throughout the installation process.
- Use flashing and caulking to seal any gaps or joints to prevent water intrusion.
Vertical Siding Installation
Vertical siding offers a clean, contemporary look. The installation process differs from lap siding primarily in the orientation of the planks and the need for additional support elements. Because the planks run vertically, there’s a greater reliance on sturdy framing to prevent sagging.
Installation typically starts at one corner of the wall and progresses across. Unlike lap siding, vertical siding often requires more precise cutting and fitting, especially around corners and windows. The vertical orientation may require more frequent use of trim pieces to manage transitions and create a clean finish.
- Begin installation at a corner, using a starting strip or corner trim to establish a straight edge.
- Each plank is installed vertically, butting against the previous plank or using a joining system provided by the manufacturer.
- Precise cutting is often necessary to fit around windows, doors, and corners.
- Additional support, such as furring strips, might be needed to ensure the siding remains straight and secure.
- Careful attention to sealing joints and corners is crucial due to the vertical orientation.
Troubleshooting Common Installation Issues
Even with careful planning and execution, challenges can arise during insulated siding installation. Addressing these issues promptly and correctly is crucial for a durable and aesthetically pleasing finish. This section will guide you through common problems and their solutions.
Gaps Between Panels
Gaps between insulated siding panels are often caused by improper measurement or insufficient expansion space. This can lead to drafts and water infiltration. To prevent gaps, always double-check measurements and ensure you’re using the correct expansion spacing recommended by the manufacturer. If gaps already exist, carefully remove the affected panels, correct the underlying issue (such as uneven framing), and reinstall the panels, ensuring proper alignment and expansion space. Small gaps can sometimes be filled with high-quality exterior-grade caulking, but larger gaps necessitate panel replacement.
Misaligned Panels
Misaligned panels result in an unsightly and potentially compromised installation. This is usually due to uneven framing or inaccurate measuring and cutting of panels. Before installing each panel, carefully check its alignment with adjacent panels and the underlying structure. Use a level to ensure straight lines and proper vertical and horizontal alignment. If panels are already misaligned, carefully remove them and correct the underlying issue before reinstalling. Precise measuring and meticulous installation are key to preventing misalignment.
Damaged Panels
Handling and installation can sometimes lead to damaged insulated siding panels. Scratches, dents, or cracks compromise the panel’s integrity and aesthetics. Minor scratches can often be touched up with a color-matched paint designed for exterior use. More significant damage, like dents or cracks, usually necessitates panel replacement. Always inspect panels thoroughly before installation to avoid incorporating damaged pieces. Proper handling and storage are essential to prevent damage during the project.
Uneven Surfaces
Uneven underlying surfaces are a frequent cause of installation problems. Insulated siding needs a consistently smooth and flat surface for proper installation. Before installation, carefully assess the surface and address any irregularities. This may involve repairing damaged sheathing, filling gaps, or using shims to create a level surface. Ignoring uneven surfaces will lead to misaligned panels and gaps, compromising the installation’s integrity and appearance. A level surface is paramount for a professional-looking and long-lasting installation.
Proper Sealing and Caulking
Proper sealing and caulking are vital for preventing water damage and ensuring a long-lasting installation. All seams, joints, and gaps around windows and doors should be thoroughly sealed with high-quality exterior-grade caulking. Use a caulking gun to apply a smooth, continuous bead. Ensure the caulk is compatible with the siding material and weather conditions. Neglecting proper sealing can lead to water infiltration, which can cause significant damage to the underlying structure and siding. Regular inspection and maintenance of caulking are important to maintain its effectiveness over time.
Safety Precautions During Installation
Installing insulated siding is a rewarding project, but safety should always be the top priority. Taking precautions prevents accidents and ensures a smooth, successful installation. Remember, a safe work environment leads to a better outcome.
Working at heights and with power tools presents inherent risks. Understanding and mitigating these risks is crucial for a safe installation. Proper preparation and the consistent use of safety equipment are non-negotiable aspects of the process.
Working Safely at Heights
Working on ladders or scaffolding requires extra care. Always ensure your ladder is on stable, level ground, extending at least three feet above the roofline for secure footing. Never overreach; maintain three points of contact with the ladder at all times (two hands and one foot, or two feet and one hand). Consider using a safety harness and rope system for added security when working at significant heights. If the project requires extensive high-level work, scaffolding is a safer alternative to ladders. Ensure the scaffolding is properly erected and secured to prevent collapse.
Power Tool Safety
Power tools, such as circular saws, nail guns, and drills, can cause serious injuries if not used correctly. Always wear appropriate eye protection, such as safety glasses or a face shield. Ensure the tools are in good working order, with sharp blades and properly functioning safety mechanisms. Maintain a firm grip on the tools, and never force them. Disconnect the power cord before making adjustments or changing blades. Use anti-vibration gloves to reduce hand fatigue and the risk of repetitive strain injuries. Never operate power tools when tired or distracted.
Personal Protective Equipment (PPE)
Appropriate PPE is essential for minimizing risks. This includes safety glasses or a face shield to protect your eyes from flying debris; hearing protection, such as earplugs or earmuffs, to reduce noise exposure; work gloves to protect your hands from cuts and splinters; and sturdy work boots with good traction to prevent slips and falls. A dust mask or respirator is also recommended, particularly when working with materials that produce dust or fumes. A hard hat is crucial when working at heights or in areas where falling objects are a possibility.
Safe Handling and Disposal of Materials
Insulated siding materials can be heavy and awkward to handle. Use proper lifting techniques to avoid back injuries. Always lift with your legs, keeping your back straight. Use mechanical assistance, such as a hand truck or forklift, for large quantities of materials. Dispose of waste materials responsibly, following local regulations. Separate recyclable materials, such as scrap metal and plastic, from non-recyclable waste. Proper disposal prevents environmental contamination and reduces the risk of injury. For example, broken pieces of siding should be carefully swept up and disposed of in appropriate containers to prevent cuts.
Last Recap
Installing insulated siding successfully is a blend of careful planning, precise execution, and attention to detail. By following the steps outlined in this guide, you’ll not only improve your home’s curb appeal but also enhance its energy efficiency and long-term durability. Remember to prioritize safety throughout the process, and enjoy the satisfaction of a job well done—a beautiful, energy-saving home exterior you can be proud of.
